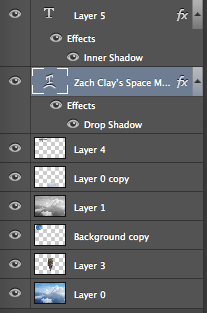
 We started this "Floating Mountain" project by learning about "Pixel fringe" and how you can get rid of it so that you can make images look good. The first thing I had to do to complete this project was to find and extract a picture of a mountain. The next thing I had to do was set the mountain image to a new "sky background". Then I had to extract 2 more images and add them onto my Mountain image. I chose my the spaceship and the big moon because I wanted to go for a "futuristic"feel, which the spaceship showed. And the moon represented that the floating mountain was kind of out of this world.
In this project, I learned how to use the "Quick Selection Tool" to select the part of the image I want and add them into another background. I also found that it was kind of hard to put the mountain behind the first cloud, but I eventually learned to add that to the layer above the mountain so it all worked out.
If I could do this project again, I would try to blend the mountain and the images better. I would've also liked to make the moon look like it was behind all of the clouds, instead of it being sort of in front of the clouds. I would keep the images the same, because I like what they represented, like it was futuristic and from a different world.
I can enhance the next project I do with this because I now know more shortcut tools, Like "W" is the quick selection tool, which can help me extract more images. I also will know how to blend more images.
Overall, I liked this project and I thought that it taught me a lot about the "Photoshop" program, like how you can be very creative with what you post, and the possibilities can be endless.


